If you are planning on photographing a solar eclipse, you need to prepare. It is possible that you will only be able to view this event a few times in your life, so getting prepared is important. Solid equipment, a good understanding of composition and camera settings, are all necessary before the moment arrives. We will cover everything you need to know in order to get great eclipse pictures. It is worth taking a look at what actually happens during this natural phenomenon.
A solar eclipse is one of the most spectacular and rare sights in astronomy. The sun is 400 times larger than the moon and 400 times further away. The phenomenon wouldn't happen if the sun was larger or the moon was further away.
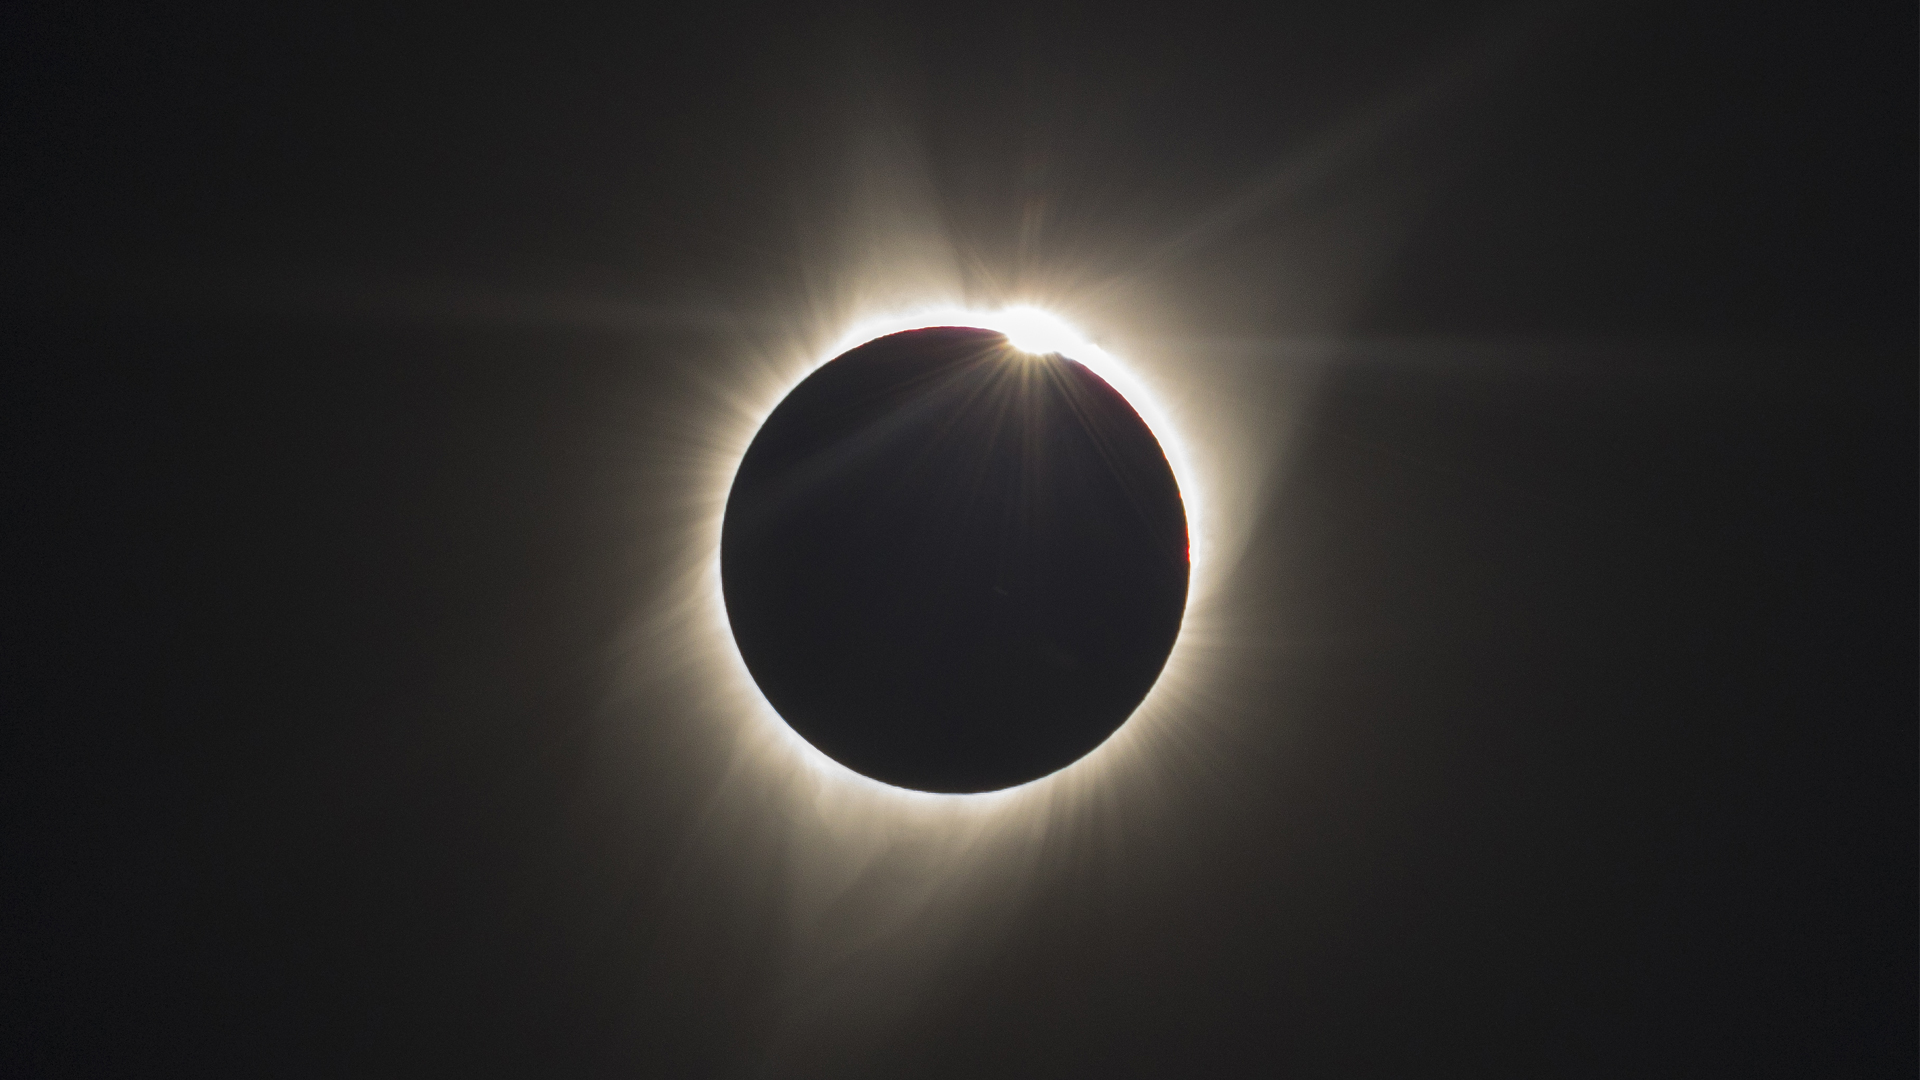
The sun is completely blacked out if you are standing in the path of totality. Birds stop singing in the trees and the Earth seems to slow down as the darkness looms. People travel across the world for a glimpse of a solar eclipse, but how do you practice photographing an event you may only witness once in a lifetime?
Are you looking for more night sky tips? There are plenty of in-depth articles on things like how to photograph the International Space Station, along with more general guidance on Astrophotography for beginners.
RECOMMENDED VIDEOS FOR YOU...

The most spectacular kind of eclipse is the total solar eclipse, where the moon completely obscures the sun. The path of totality across the Earth is a few hundred kilometres at most, and on average there is only one total solar eclipse every 18 months.
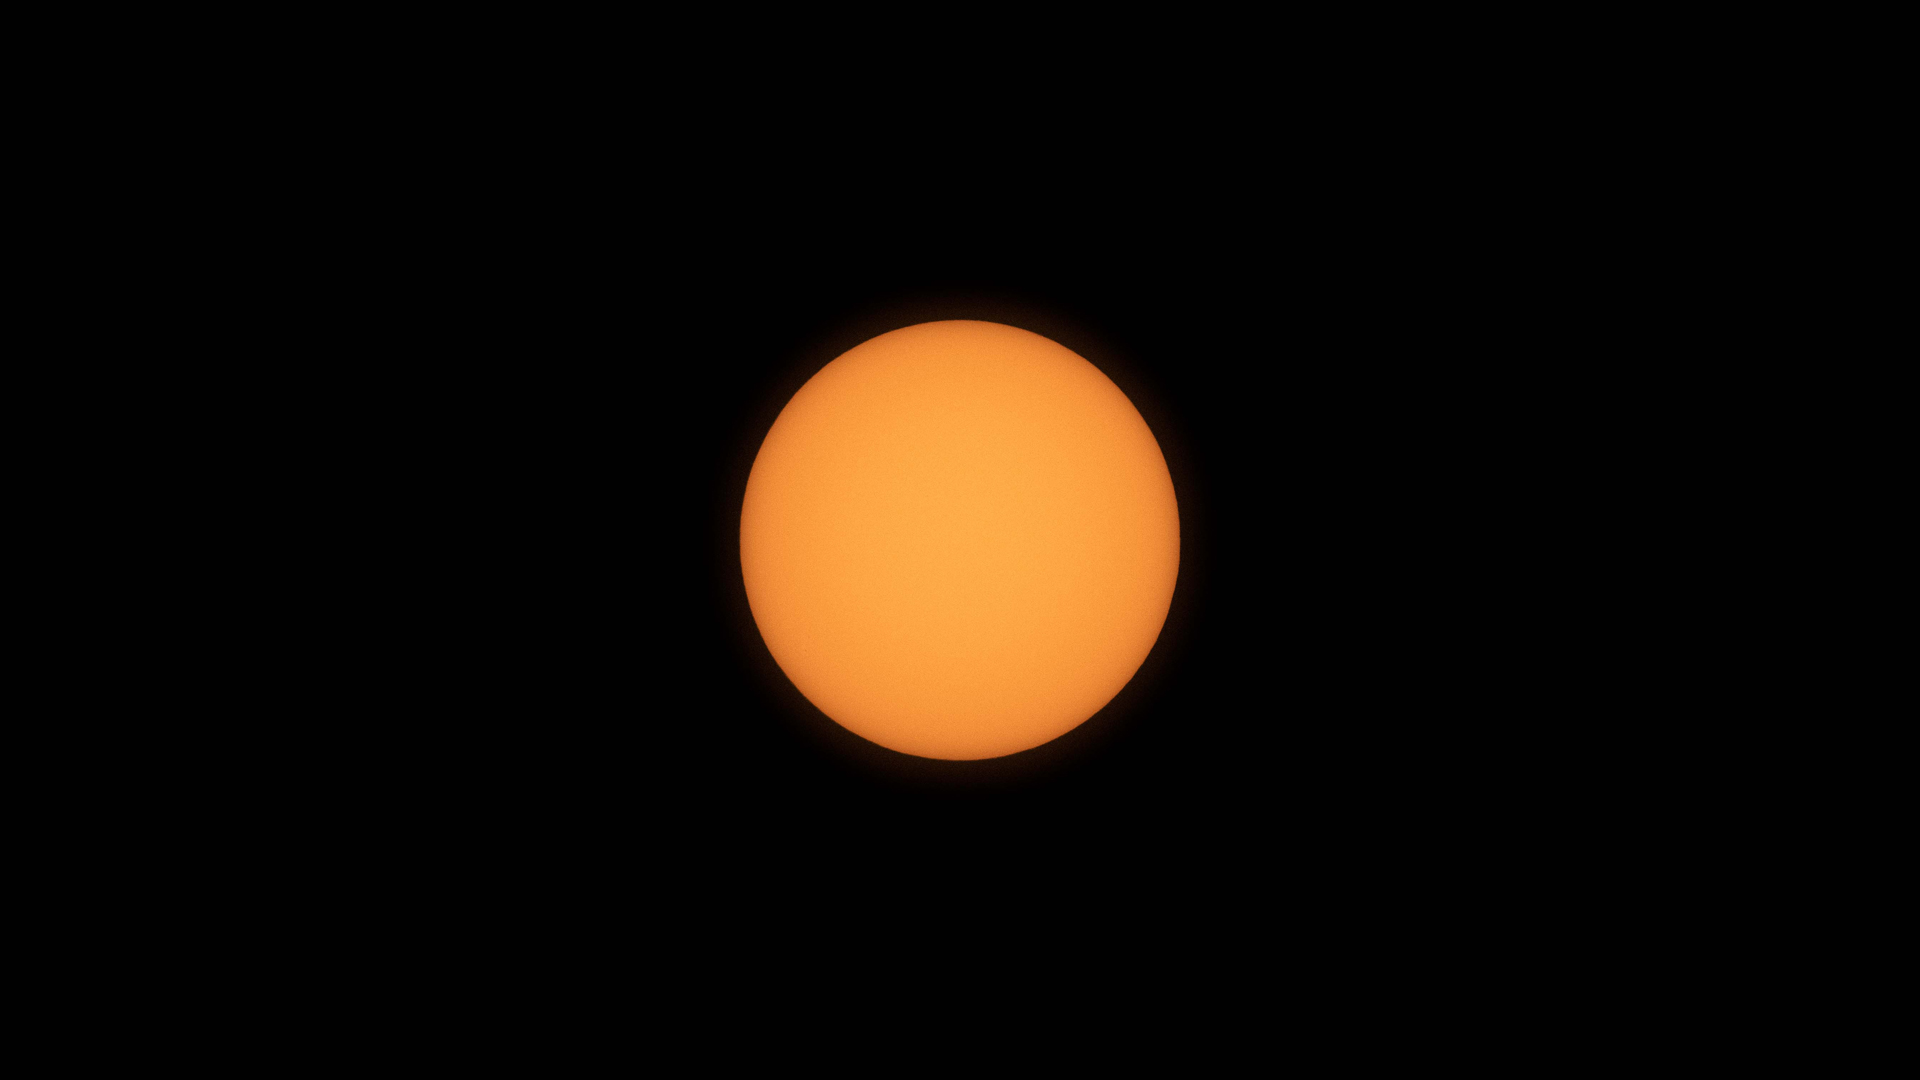
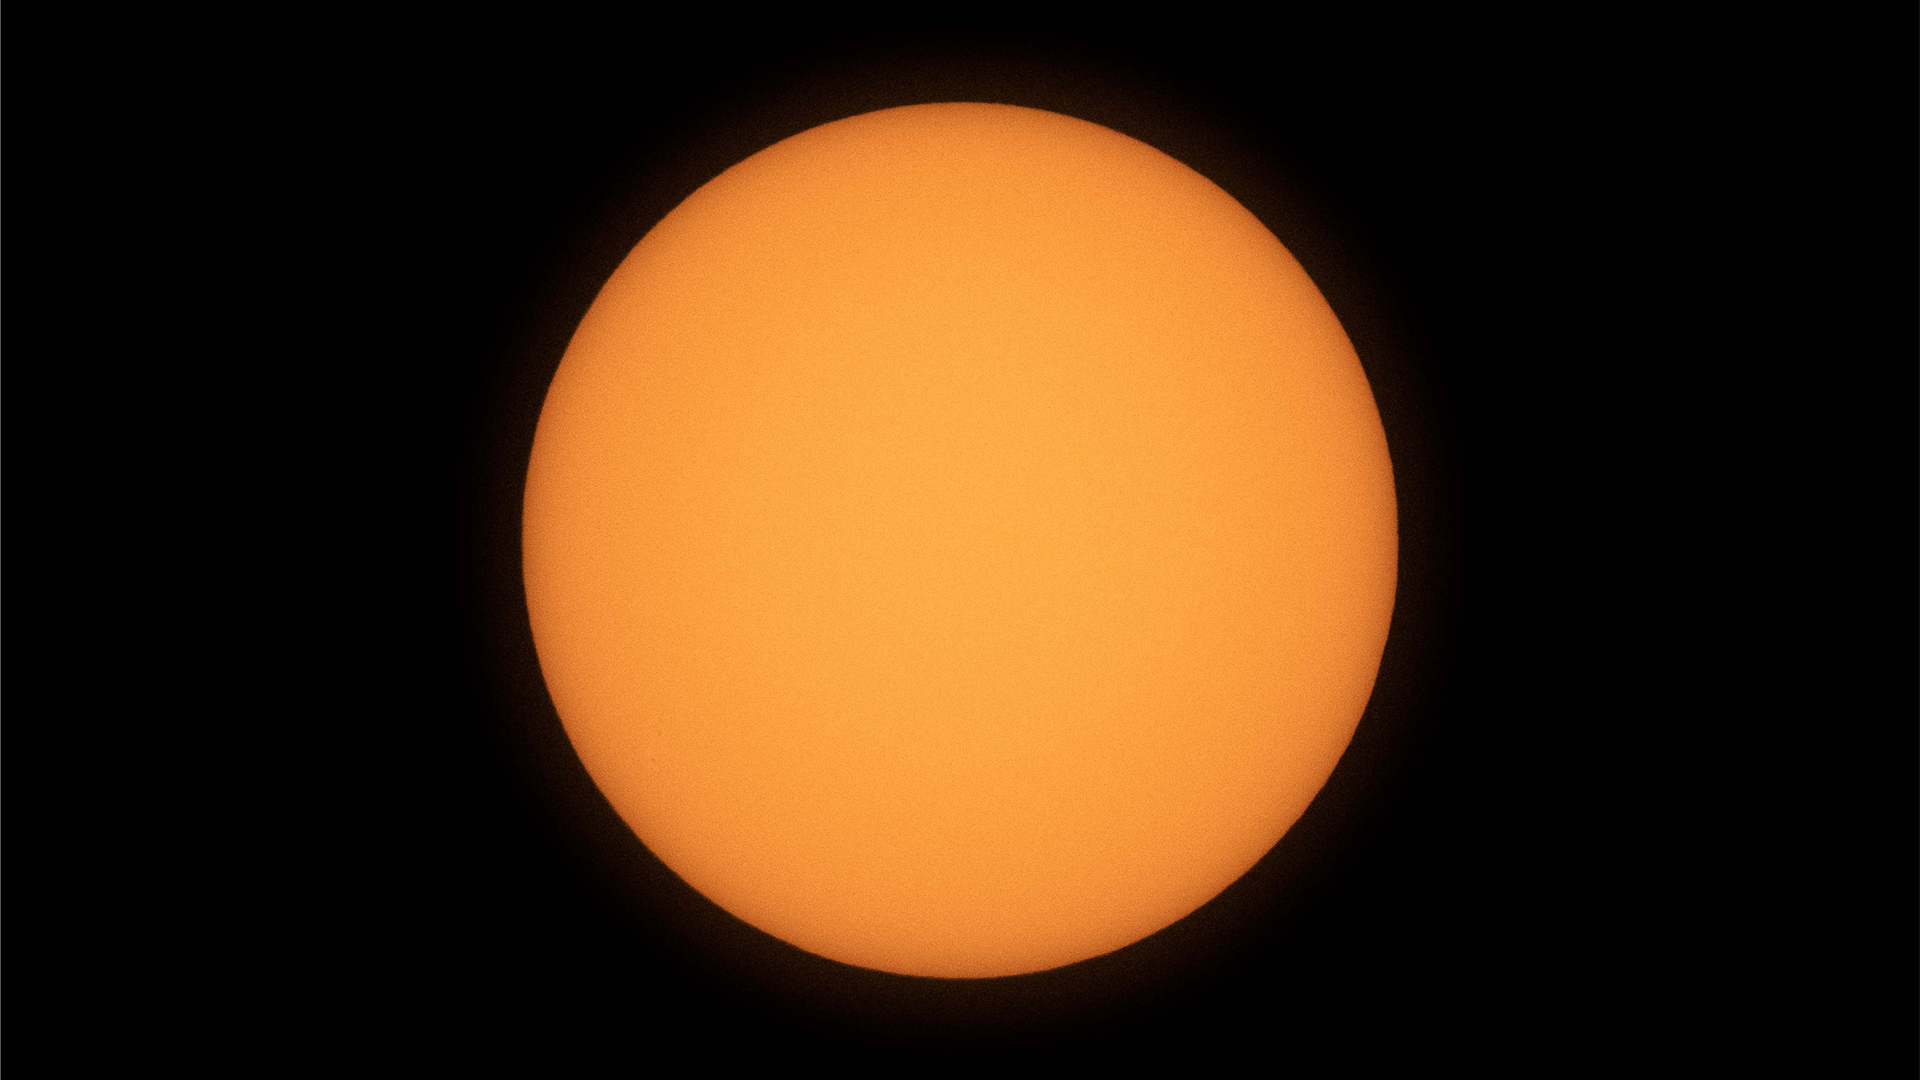
A solar eclipse is when the moon does not completely obscure the sun and leaves a bright ring visible.
A hybrid solar eclipse is the most rare type of solar eclipse. The next five will happen in the 21st century.
A partial solar eclipse is when only a small part of the sun is visible. When viewed outside the path of totality, total solar eclipses will appear as partial eclipses.
There are dangers associated with viewing a solar eclipse. Don't look directly at the sun with the naked eye, instead use your best telescope or binoculars. You can suffer instant and irreversible blindness if you burn your retina. During the brief period of totality, it is not safe to remove solar viewing glasses.
The same film used for solar viewing glasses can also be used as a solar filter. The amount of light getting through is greatly reduced by solar film. Pointing a lens at the sun without protection for your gear is not a good idea. In extreme cases a telephoto lens can melt your sensor.
Sean MacDonald sacrificed his Canon DSLR to prove this point. The camera began smoking with a 400mm lens pointing directly at the sun.
A total solar eclipse is even more rare than a solar eclipse. Unless you are lucky enough to live in the path of totality, you will need to travel to a viewing location. You can find and map the path of solar eclipses on various websites and apps.
4 December 2021
The next total solar eclipse is scheduled for December. However this will only make landfall in Antarctica.
20 April 2023
It's a couple of years away, but this hybrid solar eclipse will be seen in eastern Indonesia and East Timor with just over a minute of totality.
The path of totality for this eclipse will run from northern Mexico through Texas and the Midwest to eastern Canada. Dallas, Montreal, Cleveland and Austin are some of the large cities that will see totality.
A total eclipse will be visible in Europe in August of 2026. There will be totality in several large cities. Most of western Europe will see a partial eclipse.
The path of totality for this eclipse will take it across north Africa and the Middle East before ending over the Indian Ocean. The second longest solar eclipse of the century will take place in Egypt and will last up to 6 minutes 22 seconds. This is likely to be the most favorable viewing position for a solar eclipse in this decade due to the climate and time of day.
Australia and New Zealand will witness the final total solar eclipse of the decade on July 22, 2028, with a maximum totality of over five minutes. The eclipse will be notable for passing over the city.
You will need it.
Thousand Oaks Optical, Seymour Solar, and Baader are some of the manufacturers that offer specialist solar filters. A protective sheet of film and a screw-in thread for the front of your lens are included. If you want to block UV and IR light beyond the visible spectrum, opt for one of the solar filters.
The neutral density filters of Kase, Lee, Formatt Hitech, and Nisi can be used for solar photography and other long exposure photography. There are neutral density filters. You must only consider filters of 16-stop and above if you want enough protection.
If you want to find the correct size filter for your lens, you should look for the thread notation on the front or side of the lens. A filter with a diameter of 82 millimetres is required for your lens.
You will need a long focal length to get a good view of the eclipse. The most common telephoto lens top out at 200mm or 300mm, very respectable focal lengths, but still you are wasting space. Consider investing in a lens with a longer focal length. A teleconverter is a secondary lens that fits between your lens and the camera body to make it easier to see the center of your image. These come in factors of between 1.5 and 2x magnification. A maximum focal length of 600mm is offered by a 70-300mm lens with a 2x teleconverter.
Here is how the different focal lengths look on the D850 camera.
There are 4 images, the first one is image 1 and the 2nd one is image 3.
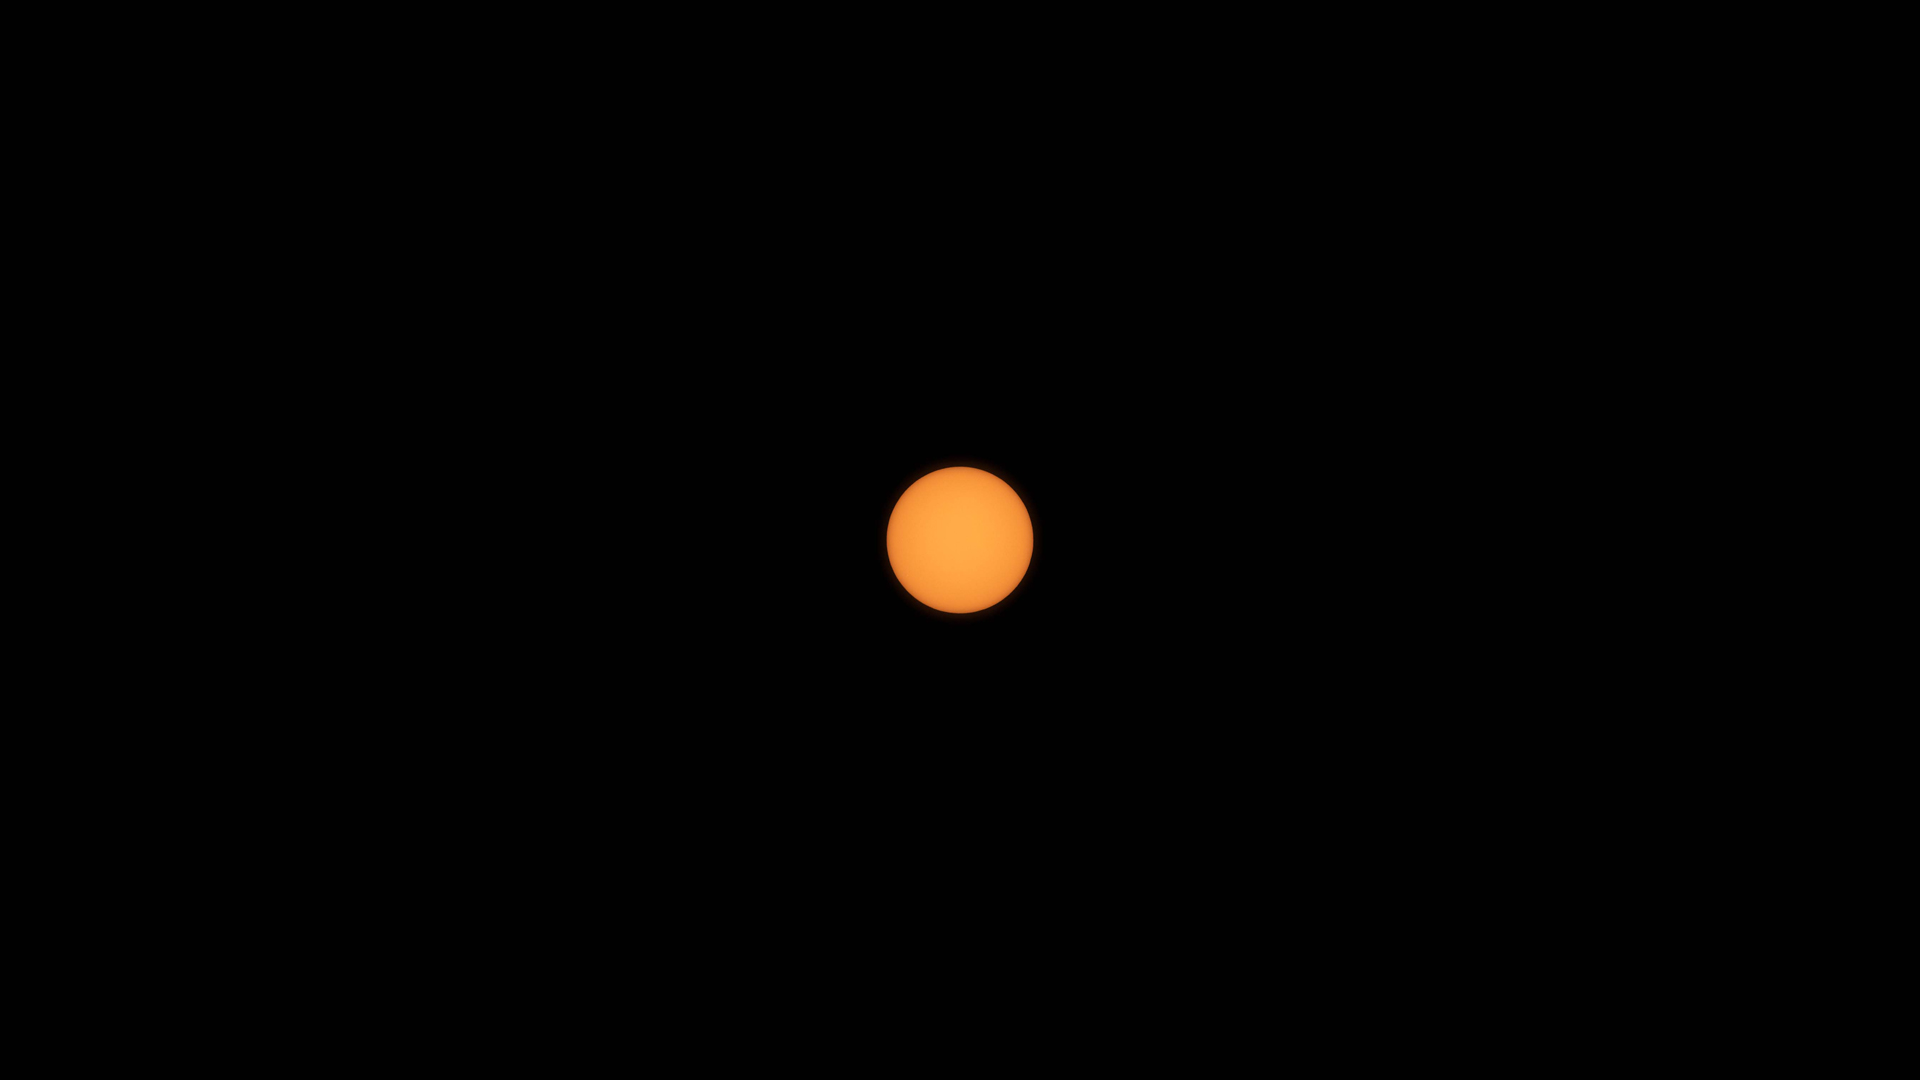
200mm
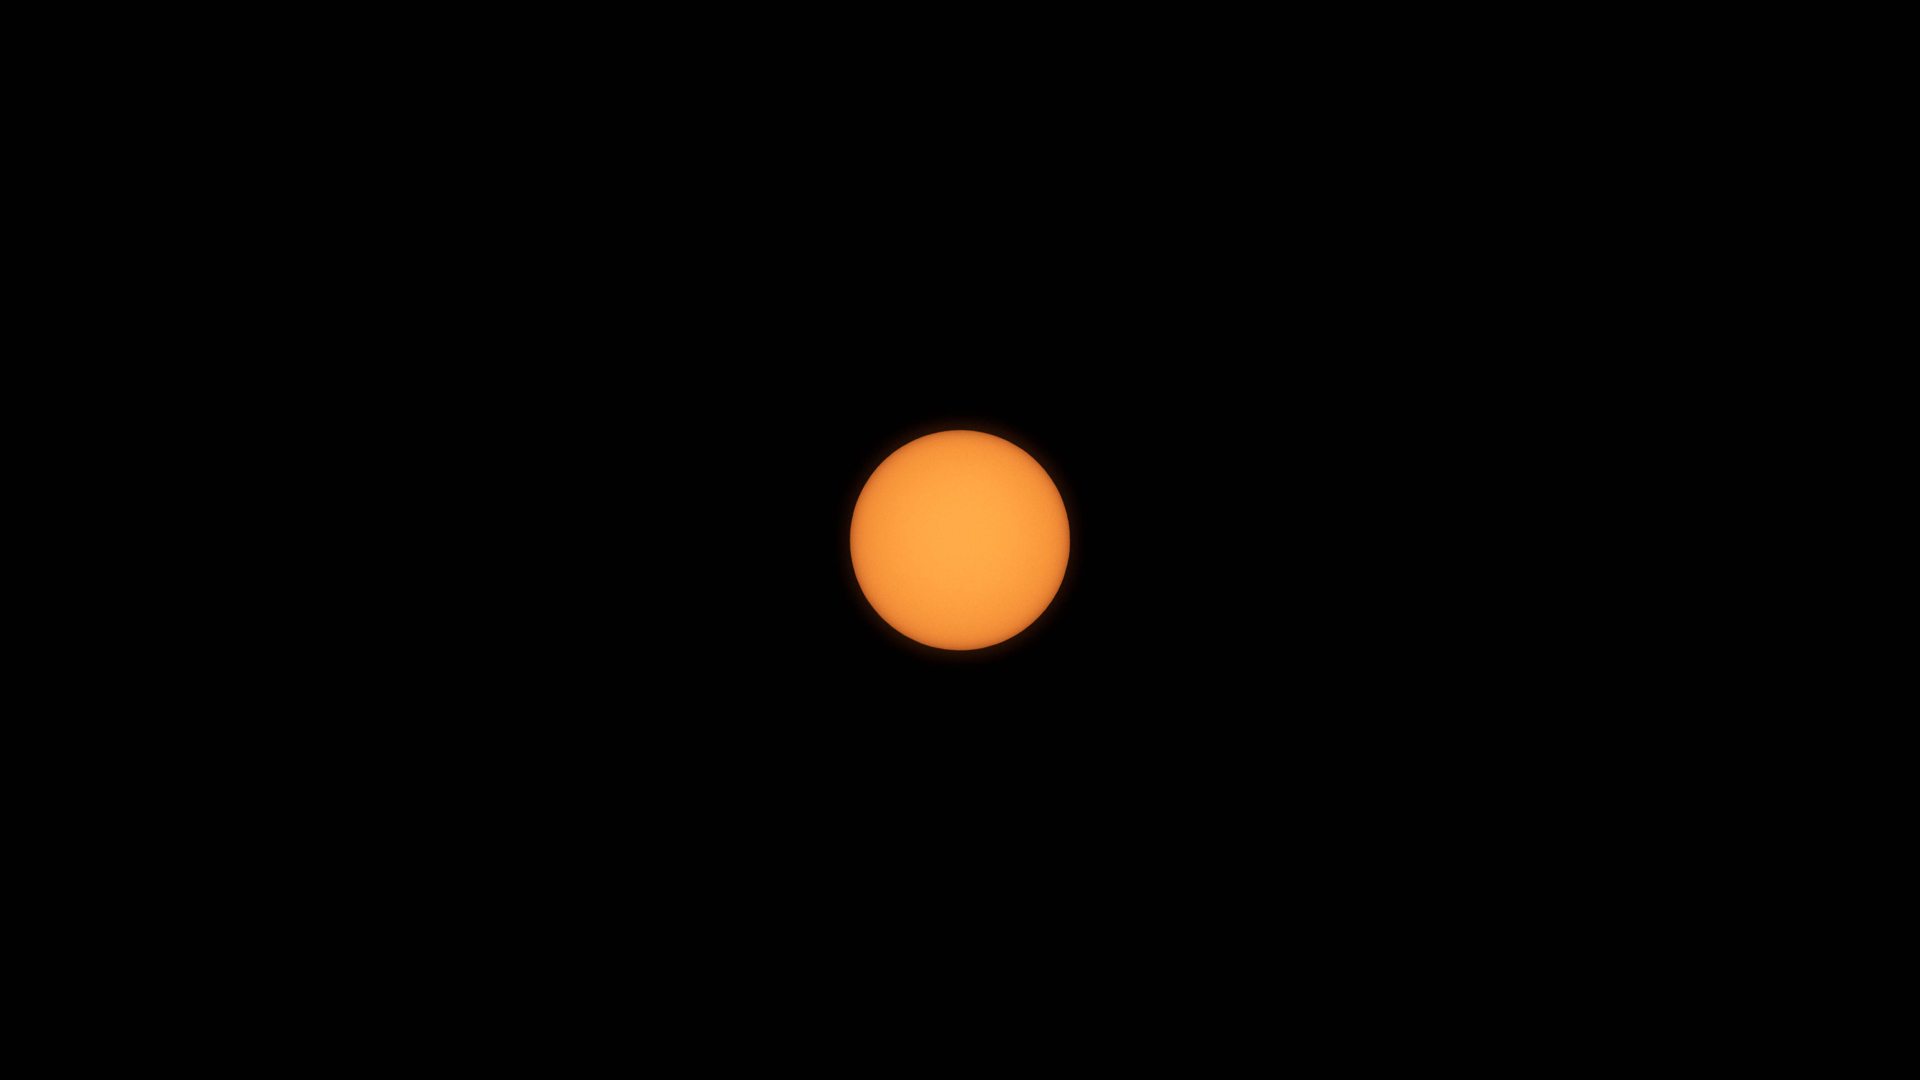
300mm
600mm
1,200mm
It may be tempting to go for the most extreme crop. It will surprise you just how quickly the sun will move through the frame if you cut off the sun's corona. It's best to use something between 400mm and 800mm for the shot because it's less likely you'll have to shoot it again.
Dust will be seen on your image if you clean your gear. Cleaning your equipment can take a lot of time and money. If you're unsure how to clean your camera sensor, you should check out your local camera shop for a professional cleaning service.
You will have established when and where you need to be. Arrive with plenty of time to set up.
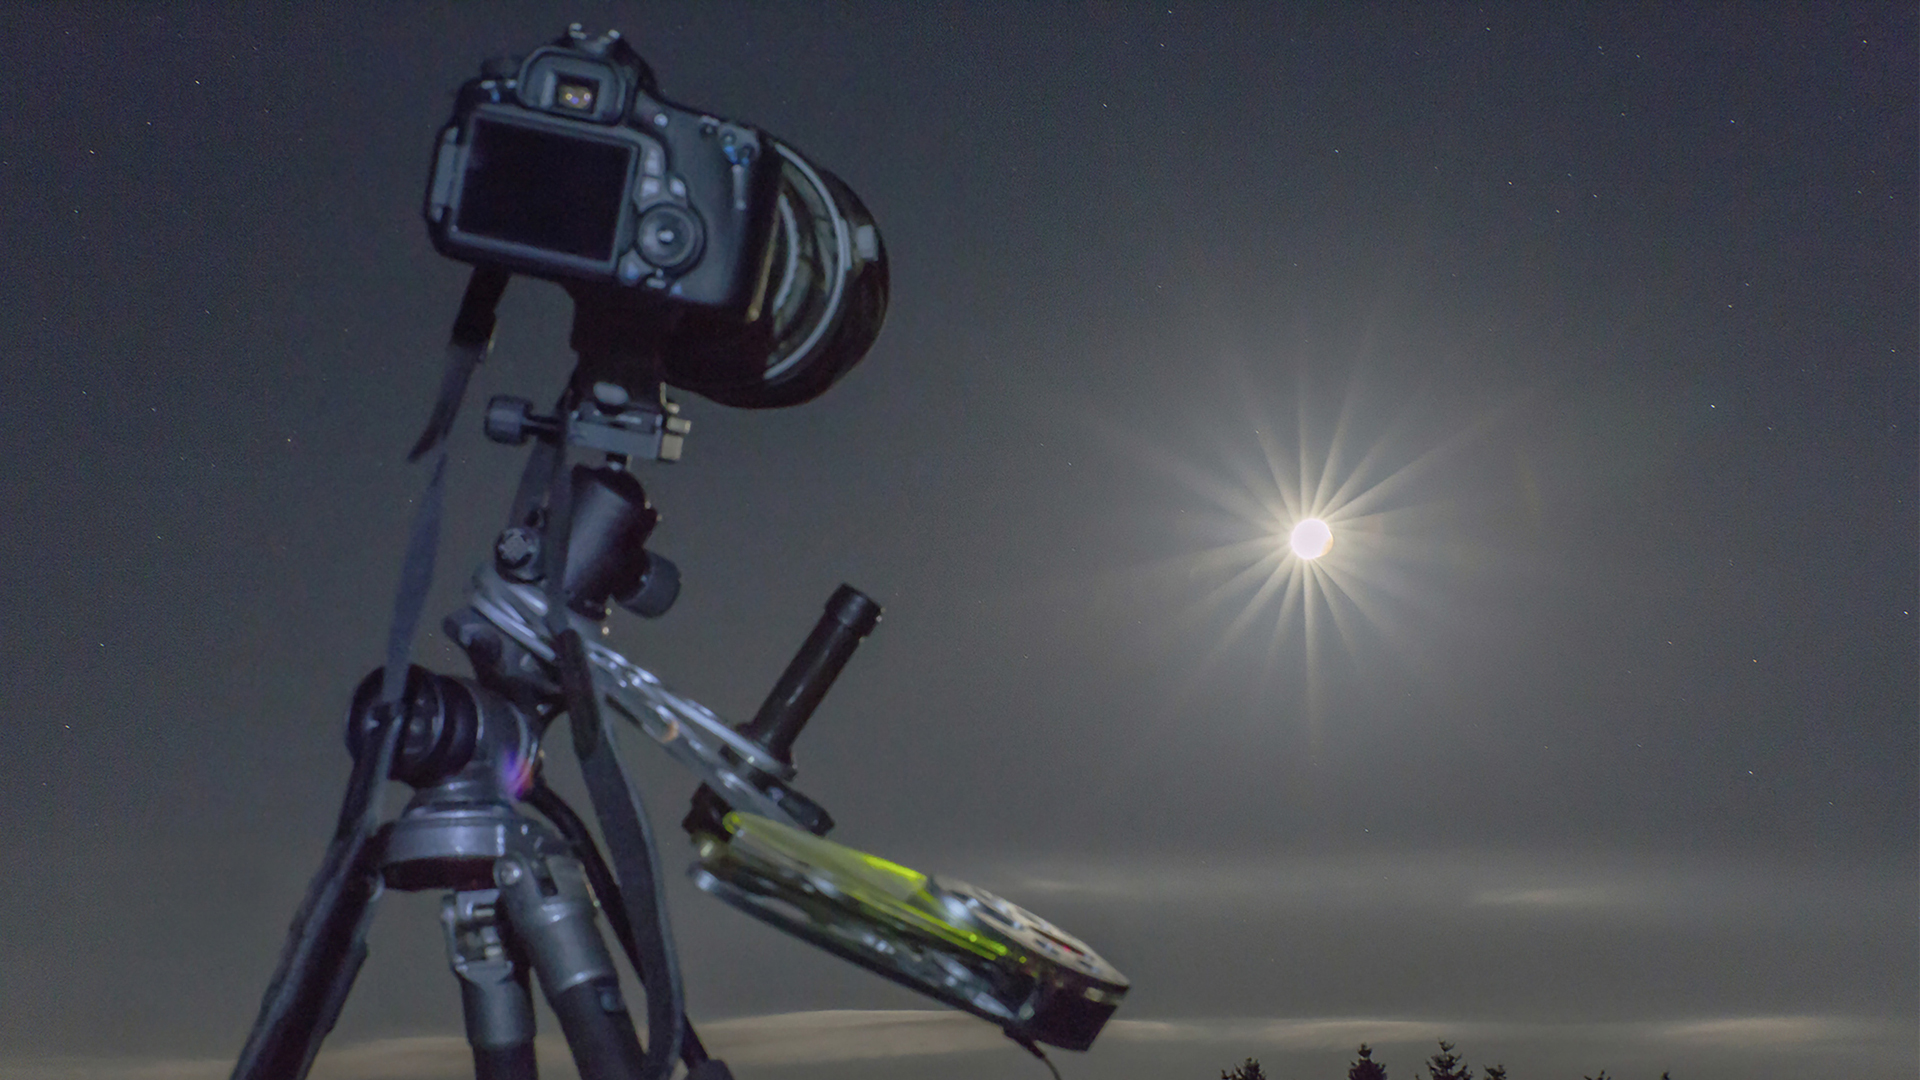
If you want your tripod to be positioned as far away from other people as possible, you need to level it. You don't want a clumsy eclipse observer bumping into your tripod in the dark.
Remove the lens cap and fit your solar filter before you take a shot.
Use your camera's screen to line up your image. Don't use the optical viewfinder. You can always crop later, so it isn't important that the sun is in the center of the frame.
Finding focus is important, but you can't always rely on it. Take a test shot and use your camera's screen to make sure it's sharp. Take a series of test shots until you are happy, then switch to manual focus.
If you are absolutely certain that your lens is in focus, you can switch to manual focus. If you accidentally brush the focus ring with your fingers, it is a good idea to carry a small roll of tape to secure the ring to the barrel.
For most of a total solar eclipse, your settings will not change.

The amount of light reaching your camera's sensor will gradually decrease as the eclipse progresses.
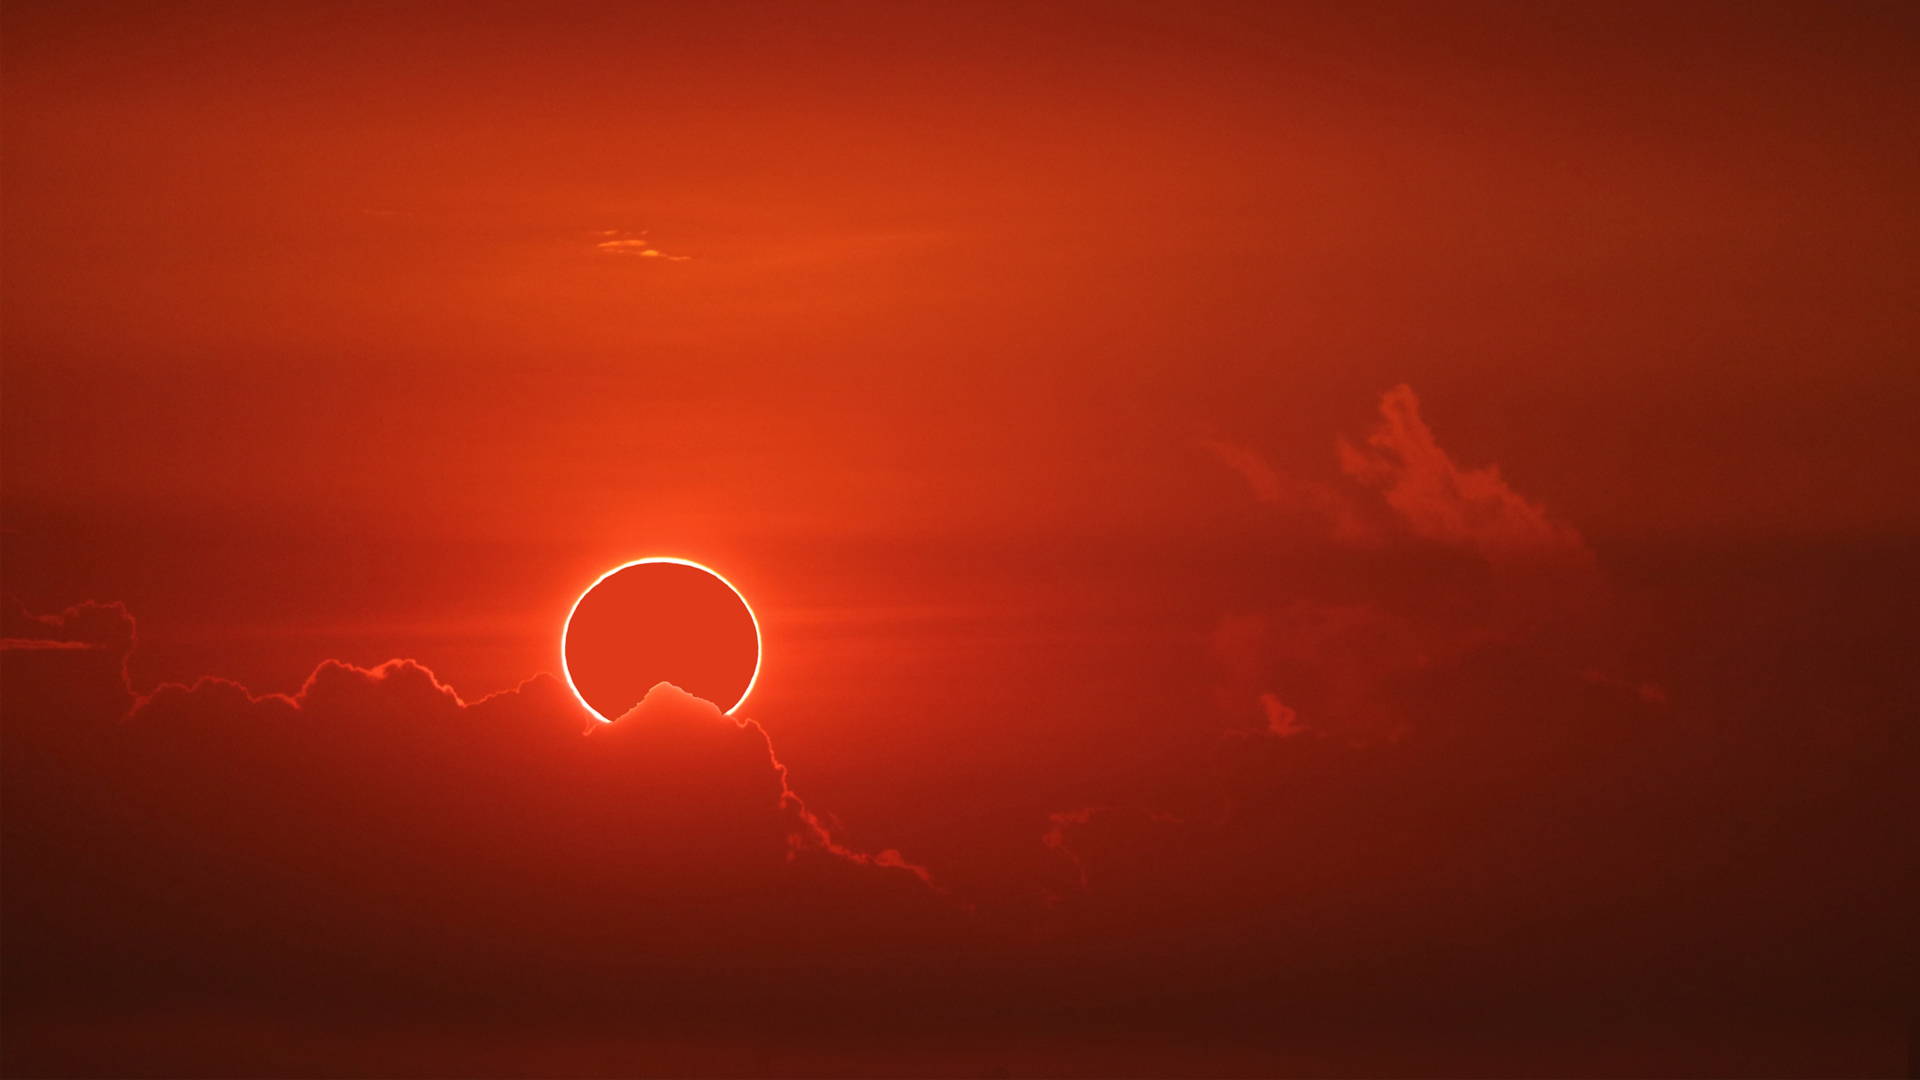
Totality begins and ends with a diamond ring. The magical moment of totality has arrived once the diamond ring has gone. The world has been plunged into darkness, but this also means some quick changes are required to continue shooting.
At this point, nothing else needs to be changed. Do not change your focus.
You don't want to waste time during the eclipse on trial and error because the techniques mentioned are difficult to master. There are other ways to perfect your techniques long before the big day.
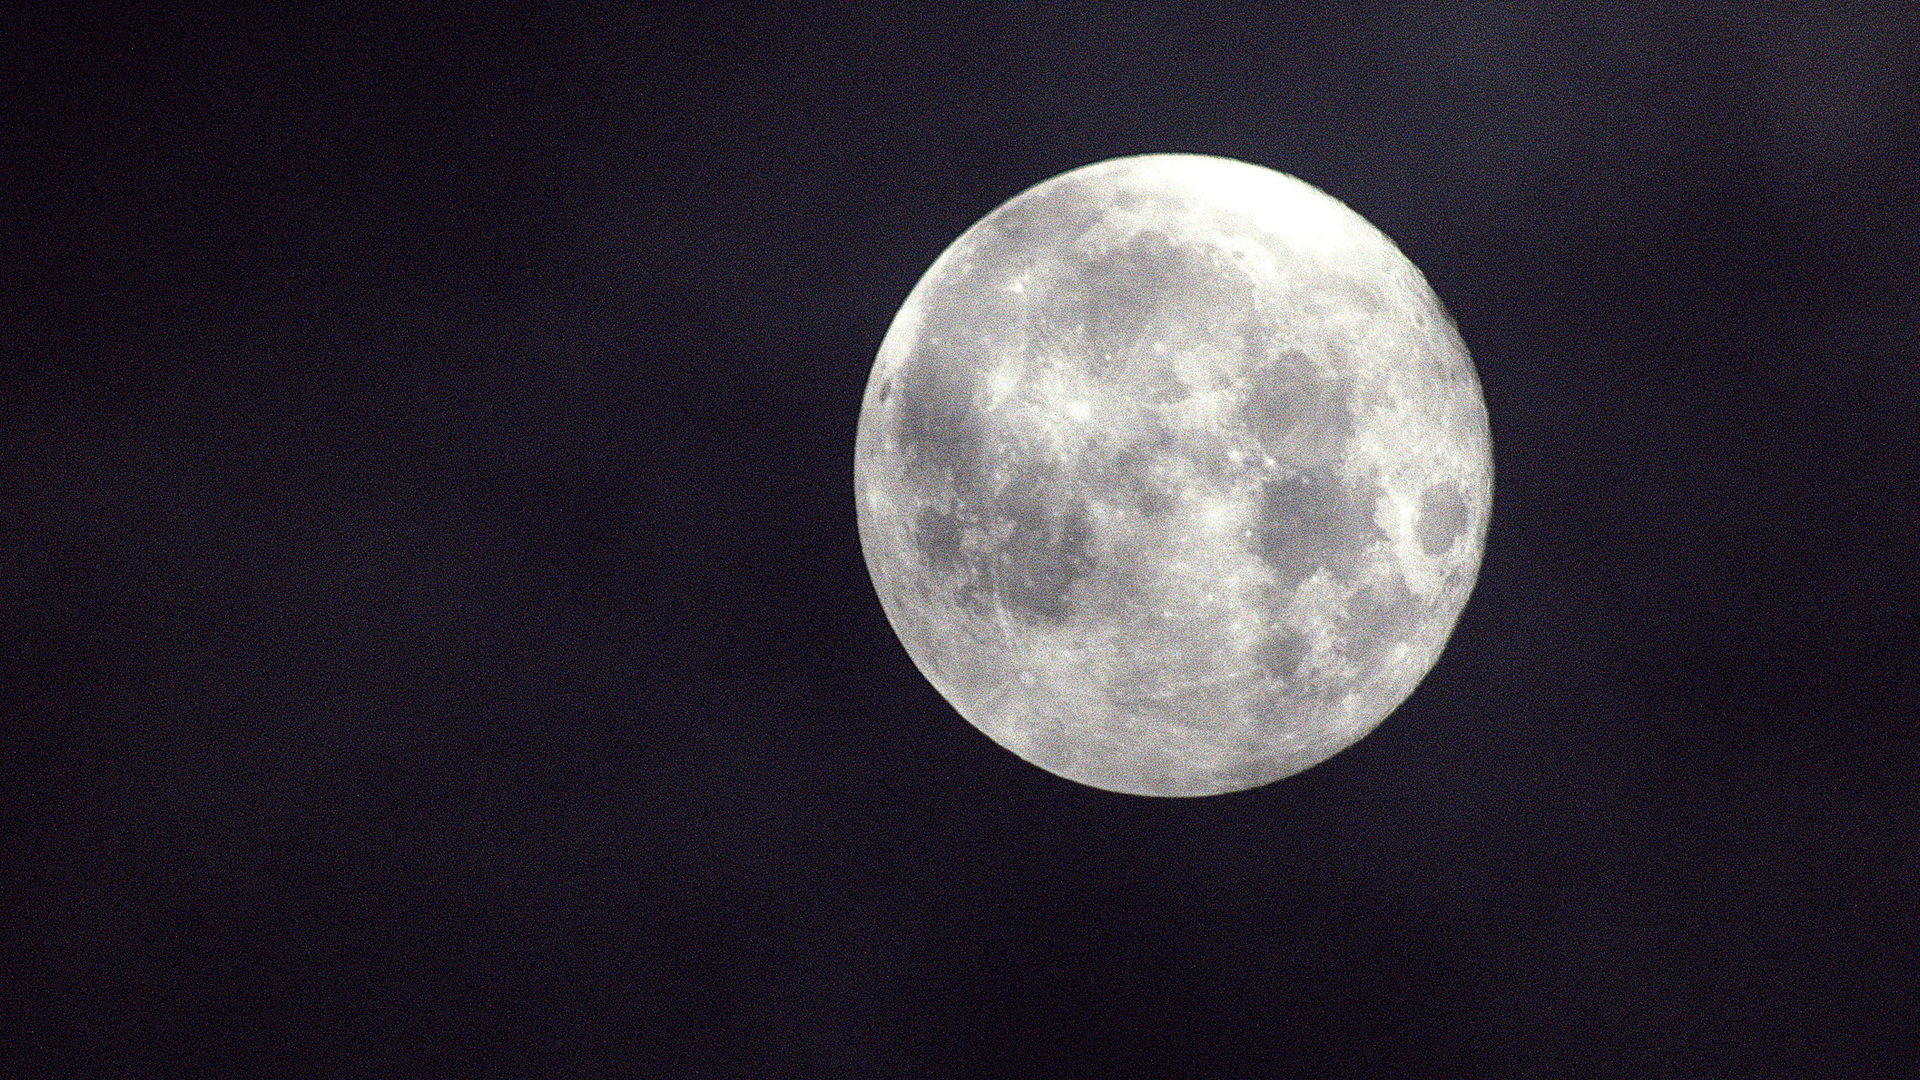
The moon is a lot dimmer than the sun, so you won't need a solar filter. The principles are the same. You can use this exercise to determine the focal length that works for you, and you will get valuable experience of how quickly the moon moves through frame when shooting at a long focal length.
We have a piece that goes into detail on how to take a picture of the moon. If you are confident in your ability to capture a full moon on its own, then try some other shots.
All Rights Reserved © 2024